
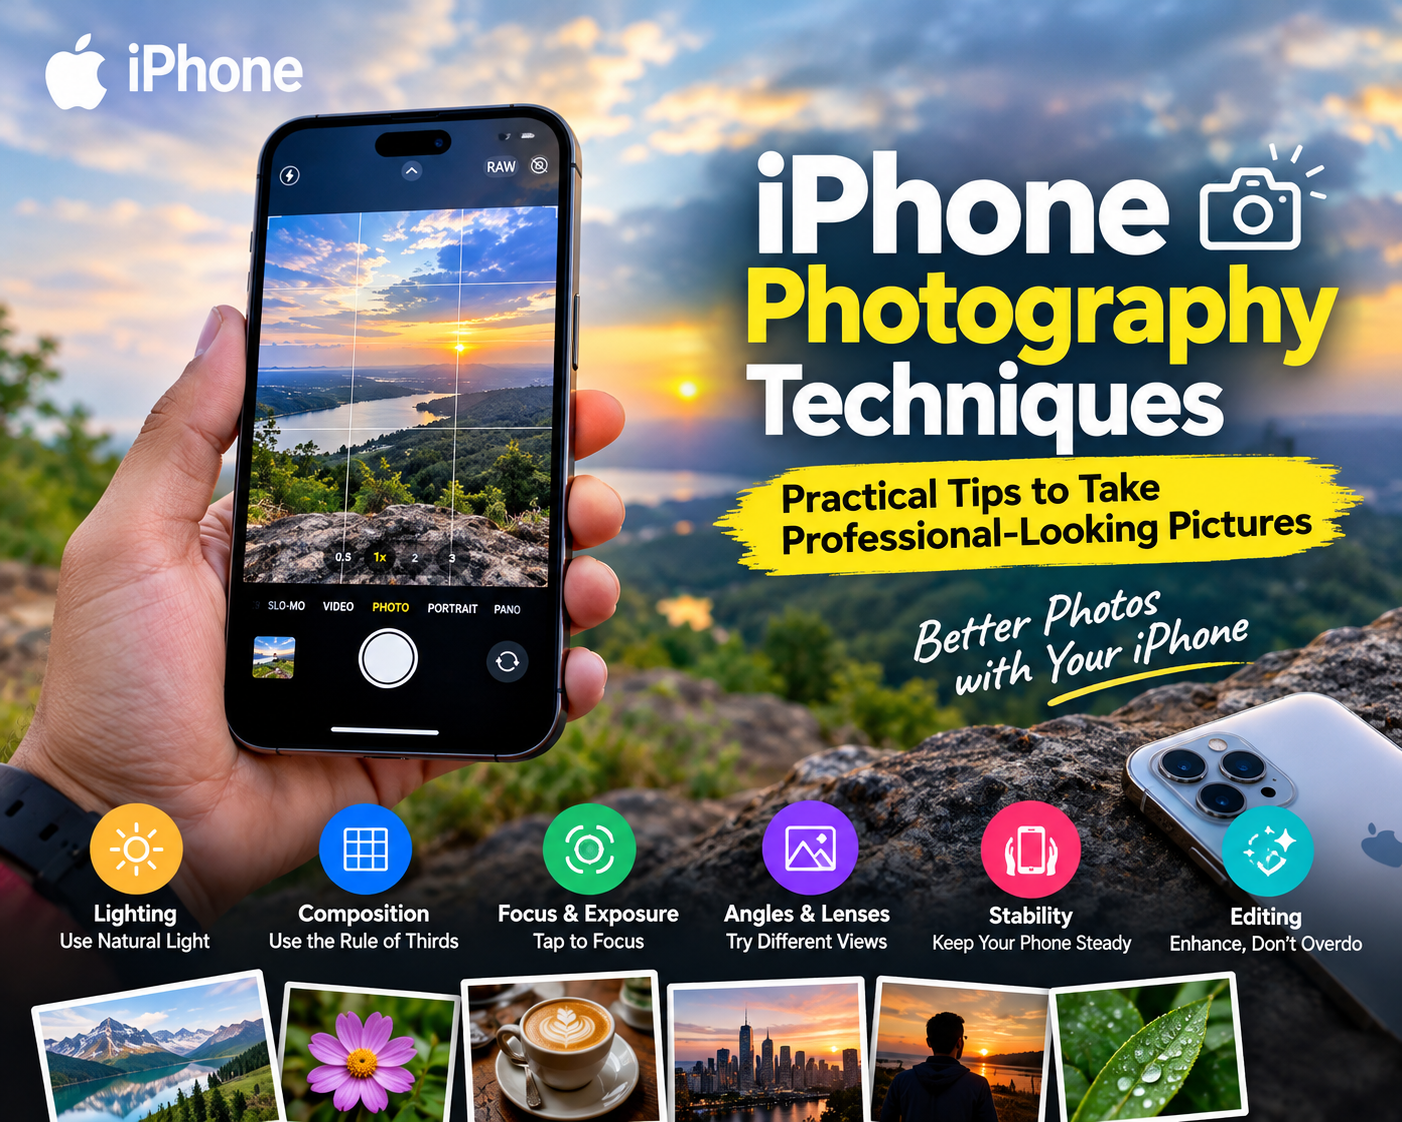
It doesn’t take expensive gear or sophisticated photography abilities to take pictures with an iPhone that seem professional. You may improve the appearance of your iPhone images with the correct camera settings, lighting, composition, and some practice.
You’ll discover useful iPhone photography methods in this article that you can apply to everyday shots, travel, food, landscape, and portraiture.
1. Clean Your iPhone Camera Lens

Use a clean, soft cloth to gently clean the camera lens before snapping a picture.
Smudges, dust, and fingerprints can blur or lessen contrast in images. Image quality can be significantly enhanced with this easy technique
2. Use Natural Light
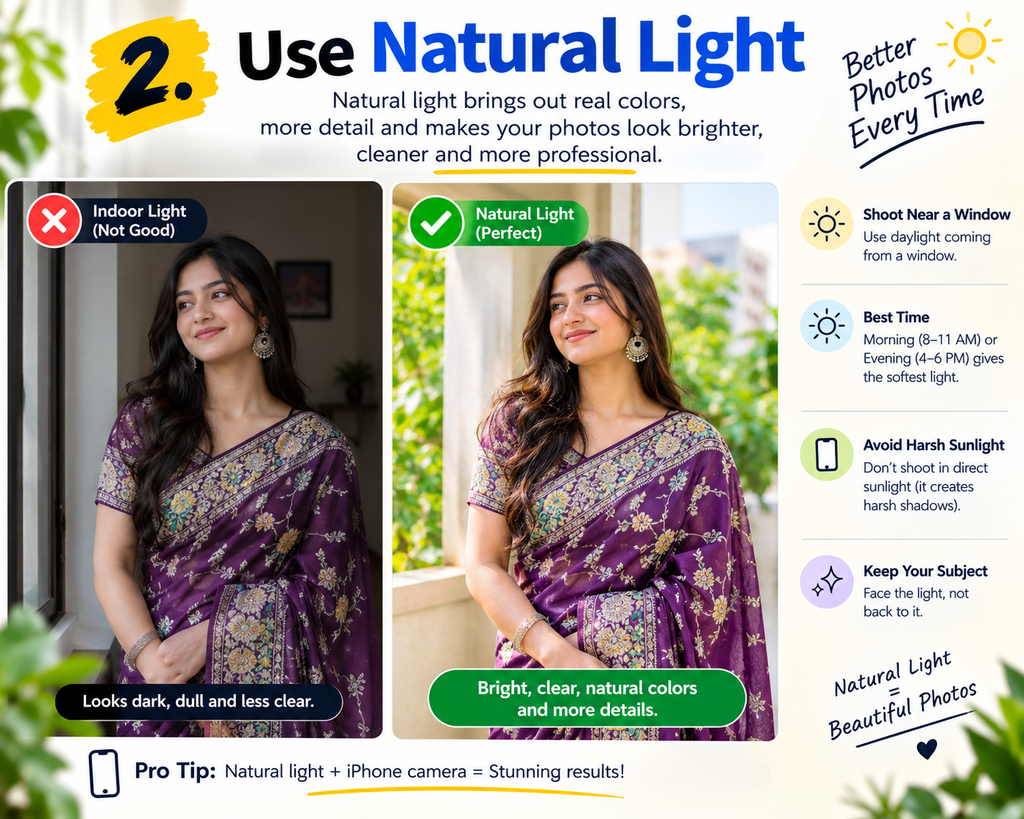
One of the most crucial aspects of photography is having good lighting.
Use natural light from a window or take pictures outside whenever you can. A pleasing appearance without sharp shadows can be produced by soft morning or evening light.
Strong overhead lighting might cast unsightly shadows, so avoid positioning your subject immediately under it.
3. Turn On the Grid
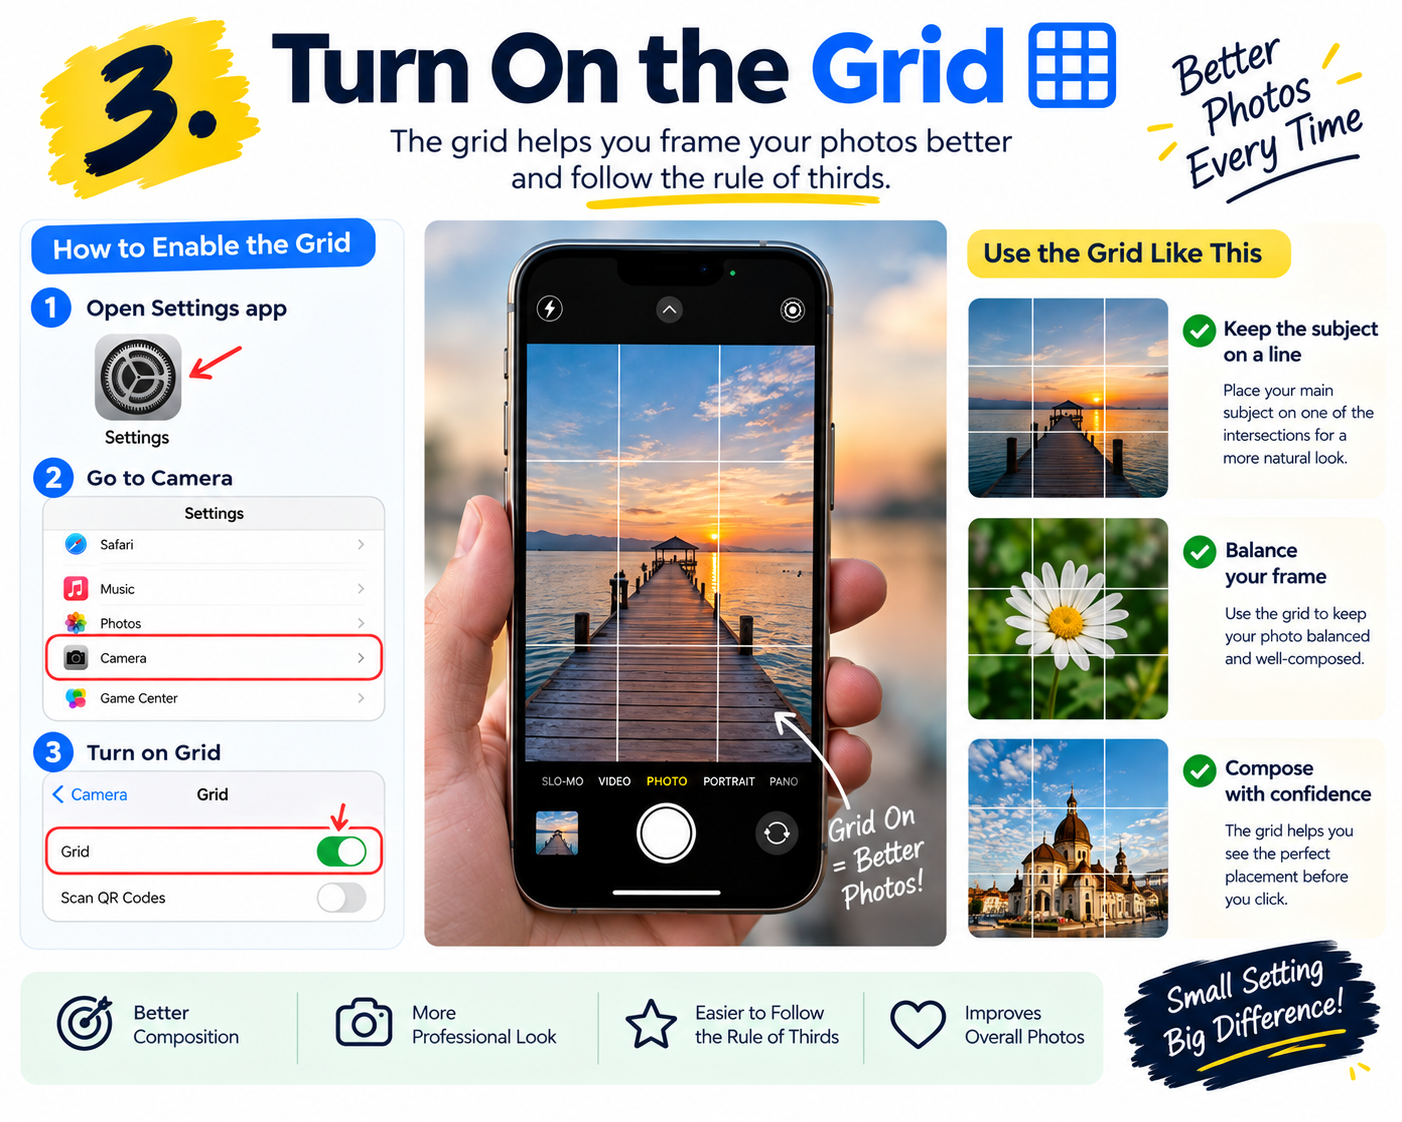
You may compose your images with the aid of the Grid feature on the iPhone camera.
Go to:
Settings → Camera → Grid
Maintaining straight horizons and better positioning your topic are made easy by the grid.
4. Use the Rule of Thirds
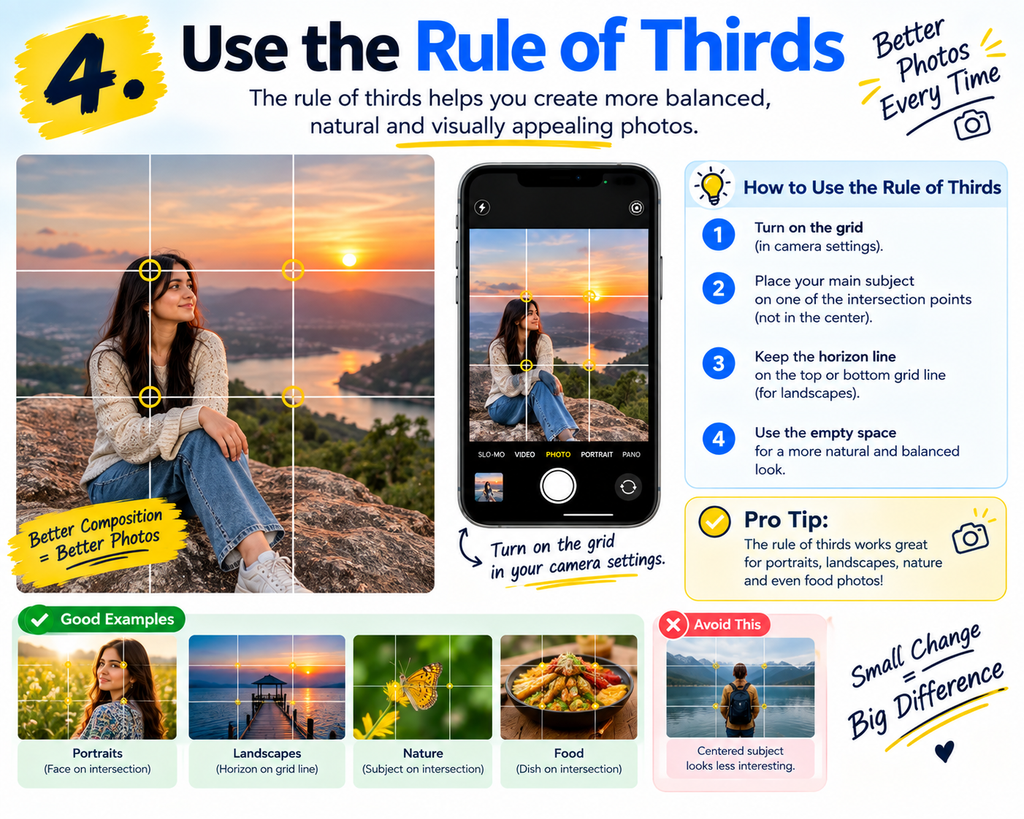
The rule of thirds is one basic composition approach.
Imagine nine equal sections on your screen. Consider placing your subject close to one of the grid crossings rather than constantly in the center.
The composition may feel more intriguing and balanced as a result.
5. Tap to Focus
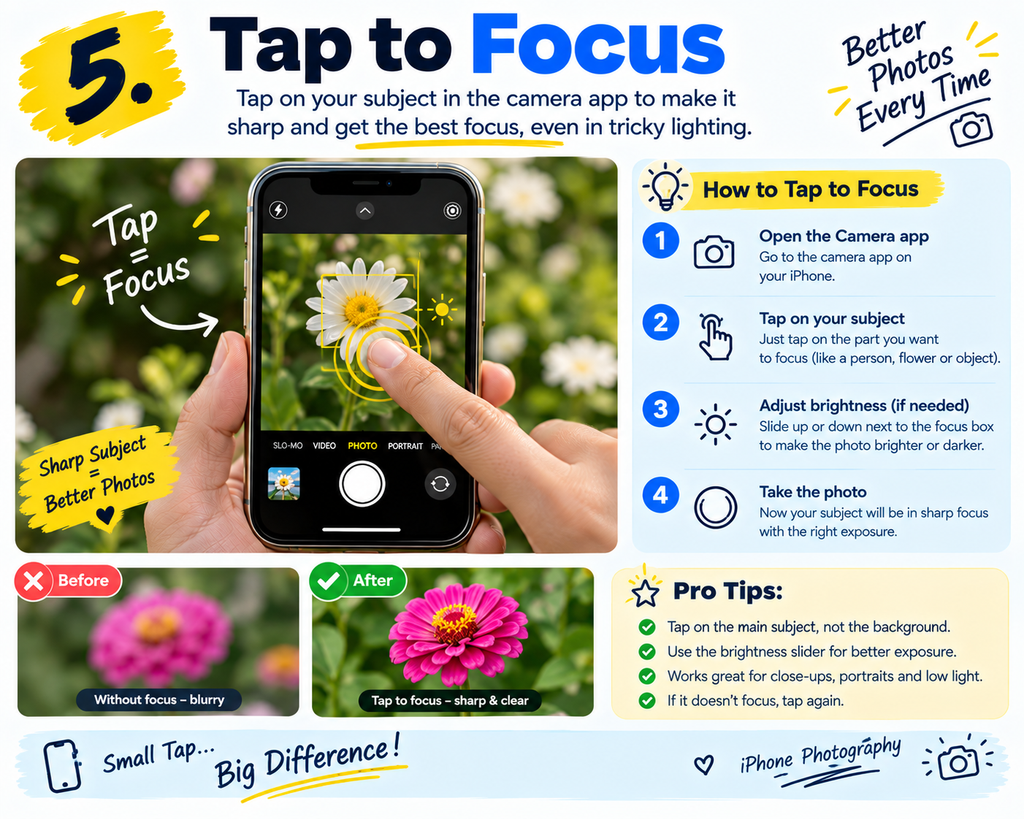
Tap the primary subject on the screen prior to pressing the shutter button.
That’s what the iPhone will concentrate on. This is particularly helpful for close-up photos, portraits, and things where you want a particular detail to be crisp.
6. Adjust Exposure Manually
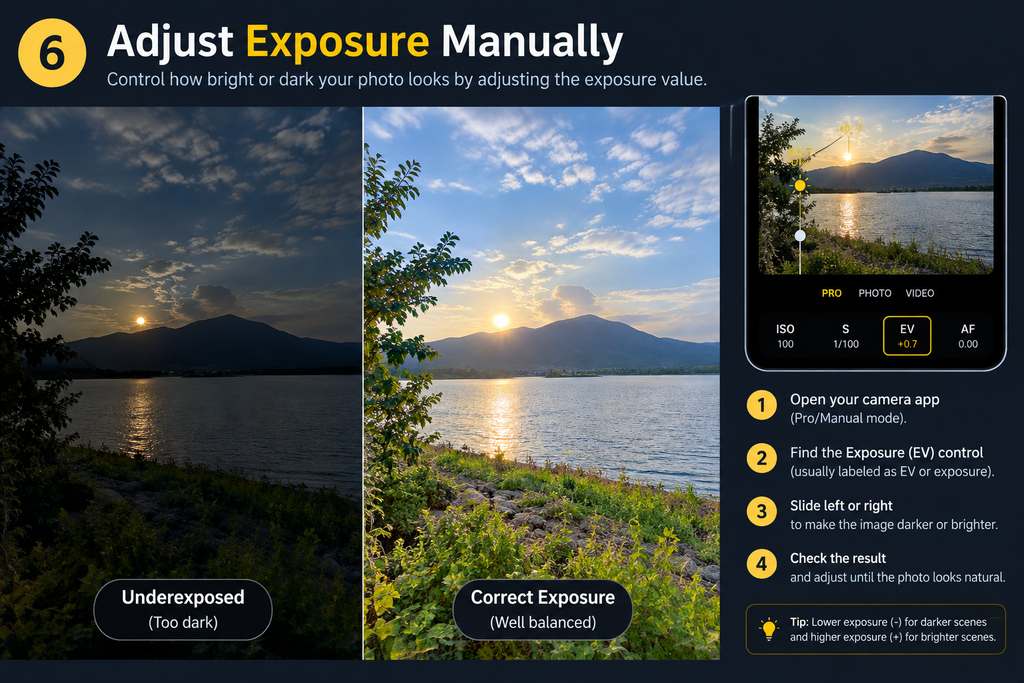
Once you’ve tapped your subject, you can move the exposure control up or down to change the brightness.
Lower the exposure a little if the picture appears overly bright. Increase it if the subject is too dark.
Details in bright and dark areas can be preserved with minor changes.
7. Try Portrait Mode
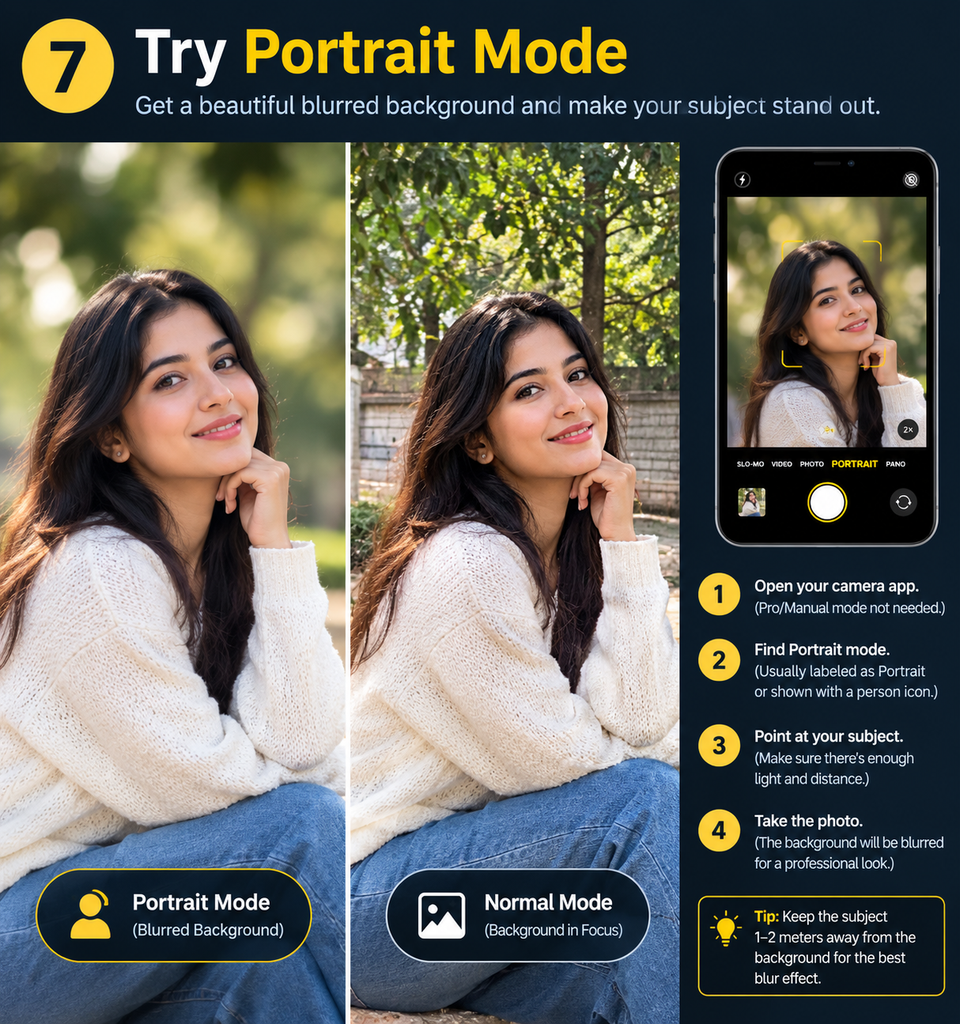
Portrait mode can produce a background-blur effect for people and appropriate subjects.
Make sure the background and the subject are sufficiently apart. The subject might also be made to stand out with a straightforward background.
Make sure there is enough space between the topic and the background. A simple background can also help the subject stand out.
8. Use Different iPhone Lenses
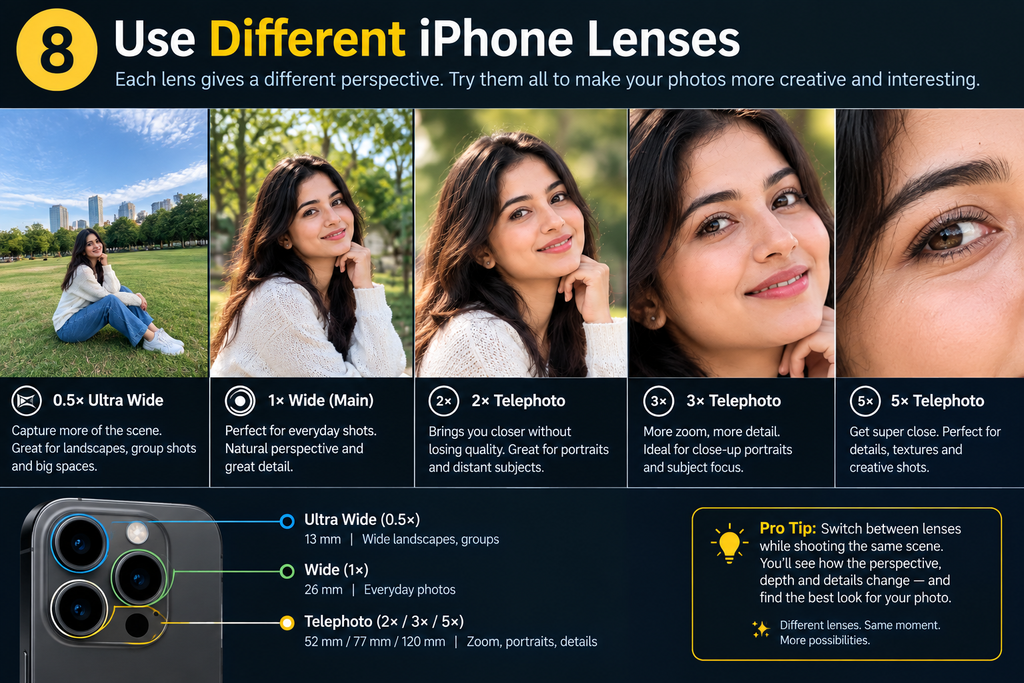
Try different focus lengths if your iPhone model has multiple cameras.
Main camera: Excellent for regular photographyExtremely Wide: Beneficial for big panoramas, architecture, and landscapesTelephoto: Beneficial for portraits on compatible models and far-off topicsInstead of always employing digital zoom, choose the lens according to the scene.
9. Avoid Excessive Digital Zoom
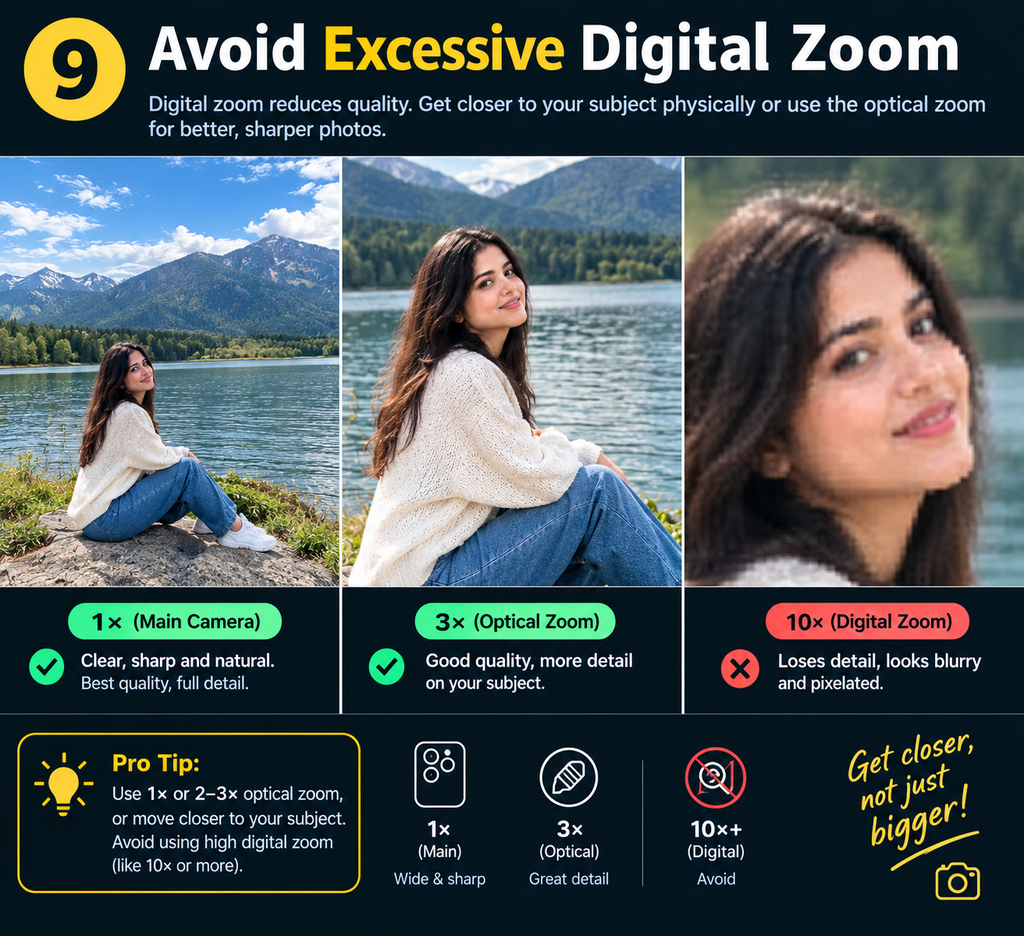
Particularly at high magnification, digital zoom can degrade image quality.
Get as near to your subject as you can, or if your iPhone has an optical or telephoto lens, use it.
10. Keep Your Phone Steady
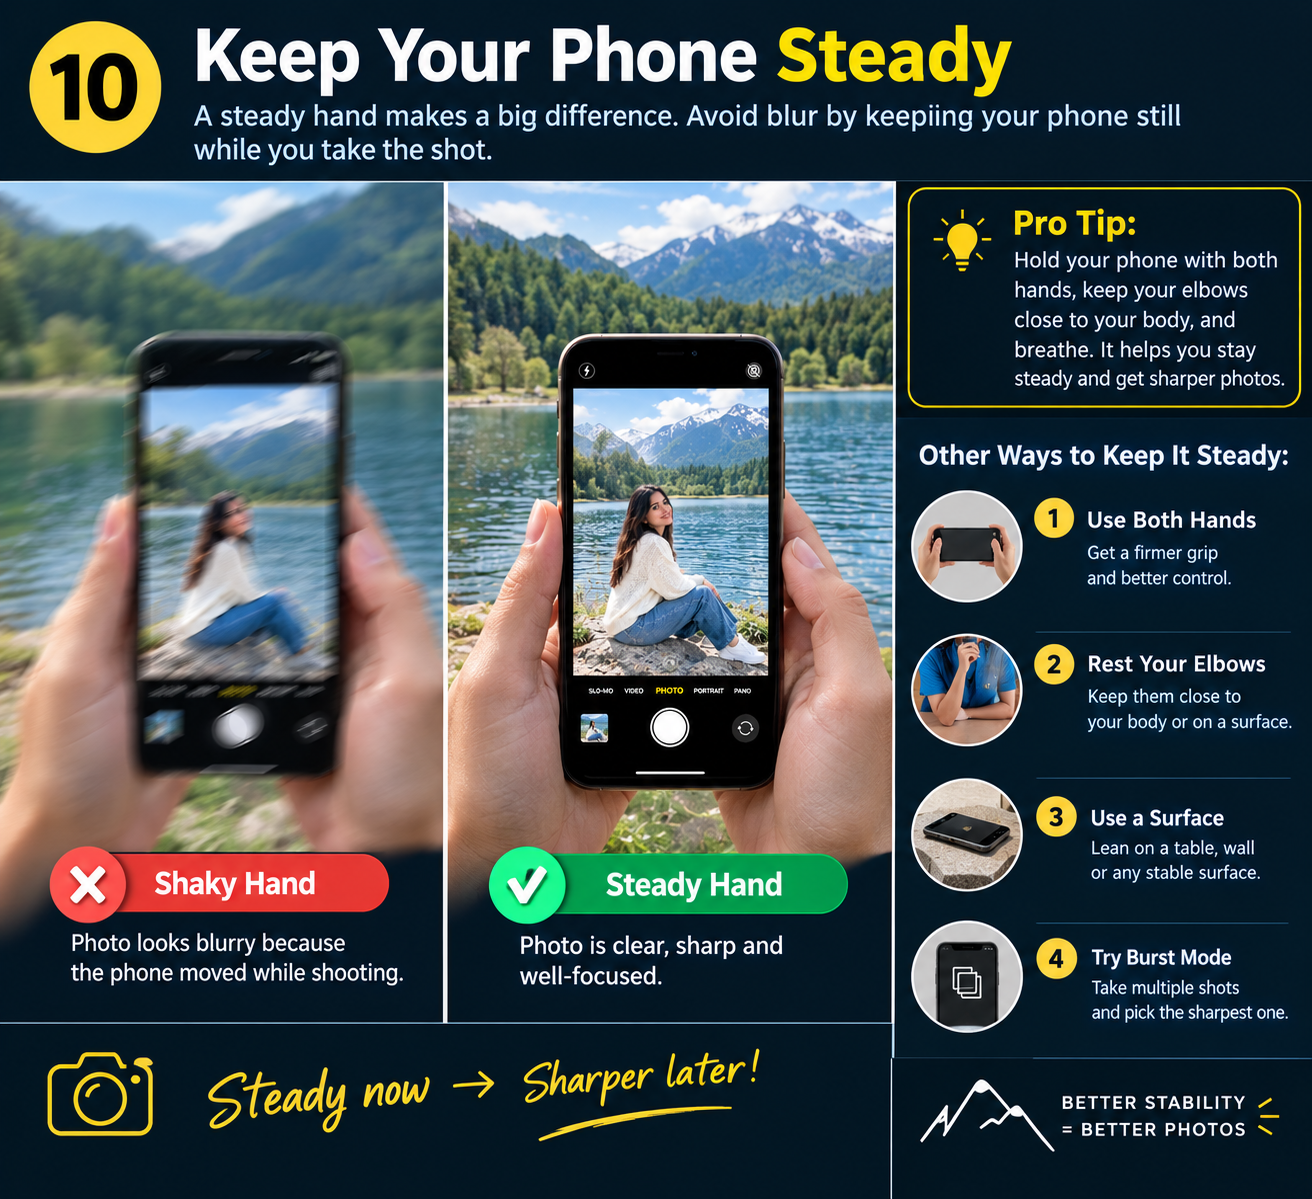
Photos may get hazy due to camera movement.
Keep your elbows somewhat near to your torso when using both hands to hold your iPhone. When possible, utilize a tripod or sturdy platform for long exposures or nighttime shooting.
11. Experiment With Different Angles
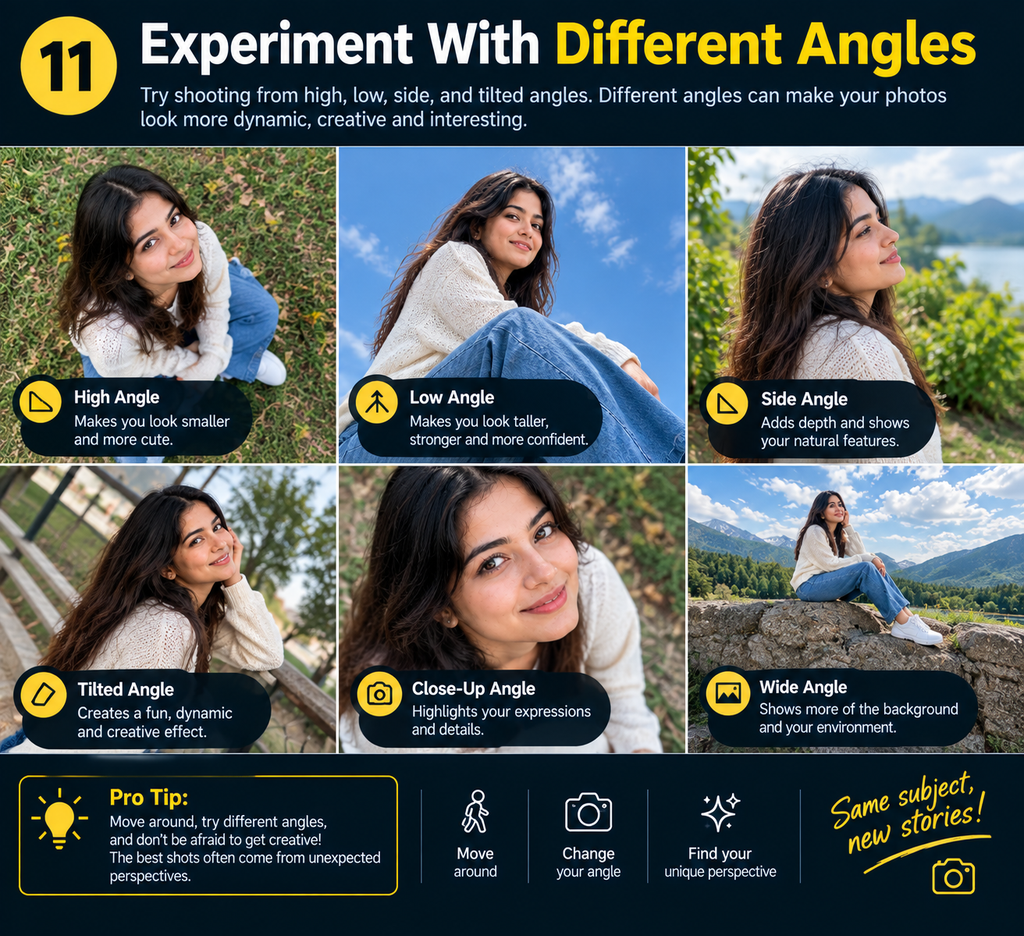
- Don’t always shoot pictures at eye level.
- Try photographing your subject from:
- A smaller angleAn elevated angleThe side
- A position that is straight on
- A marginally different distance
An average scene can be made considerably more exciting by shifting your point of view.
12. Use Leading Lines
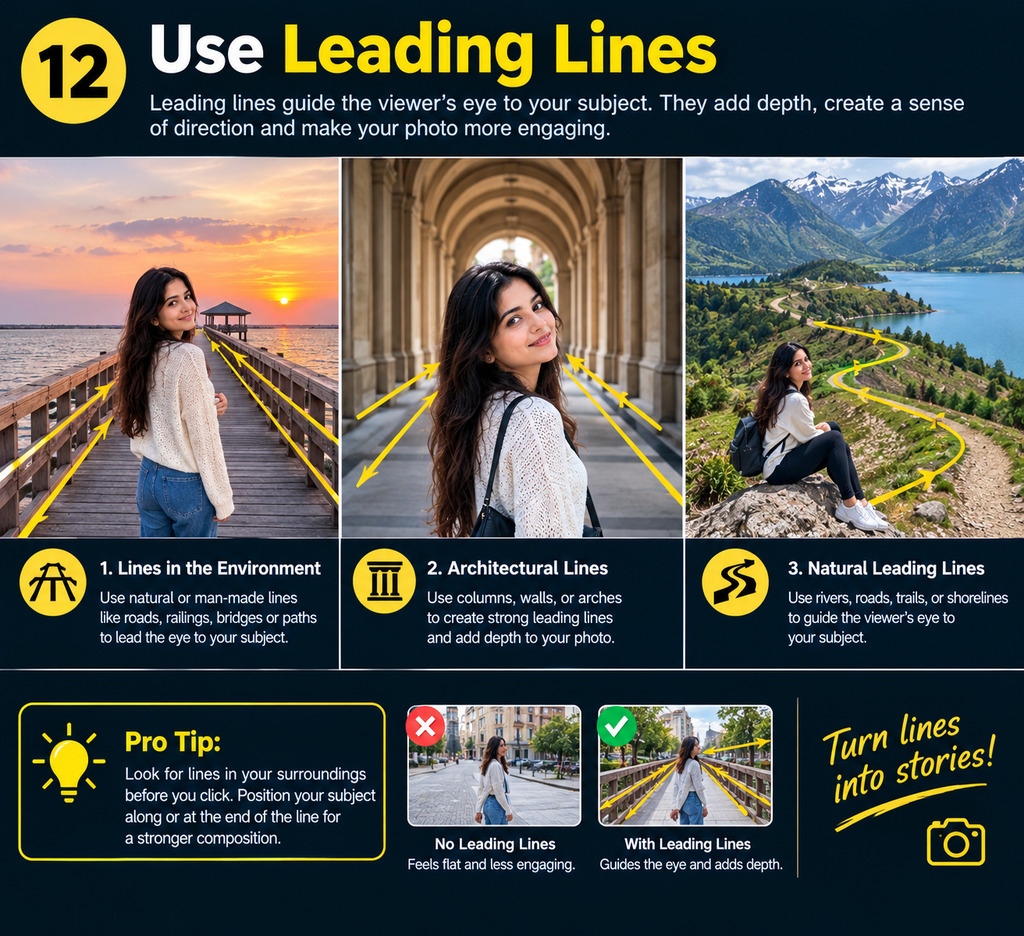
Look for lines in your surroundings, such as walkways, walls, stairs, railings, and roadways.
The viewer’s attention can be naturally drawn to the main topic by these leading lines.
13. Take Better Food Photos
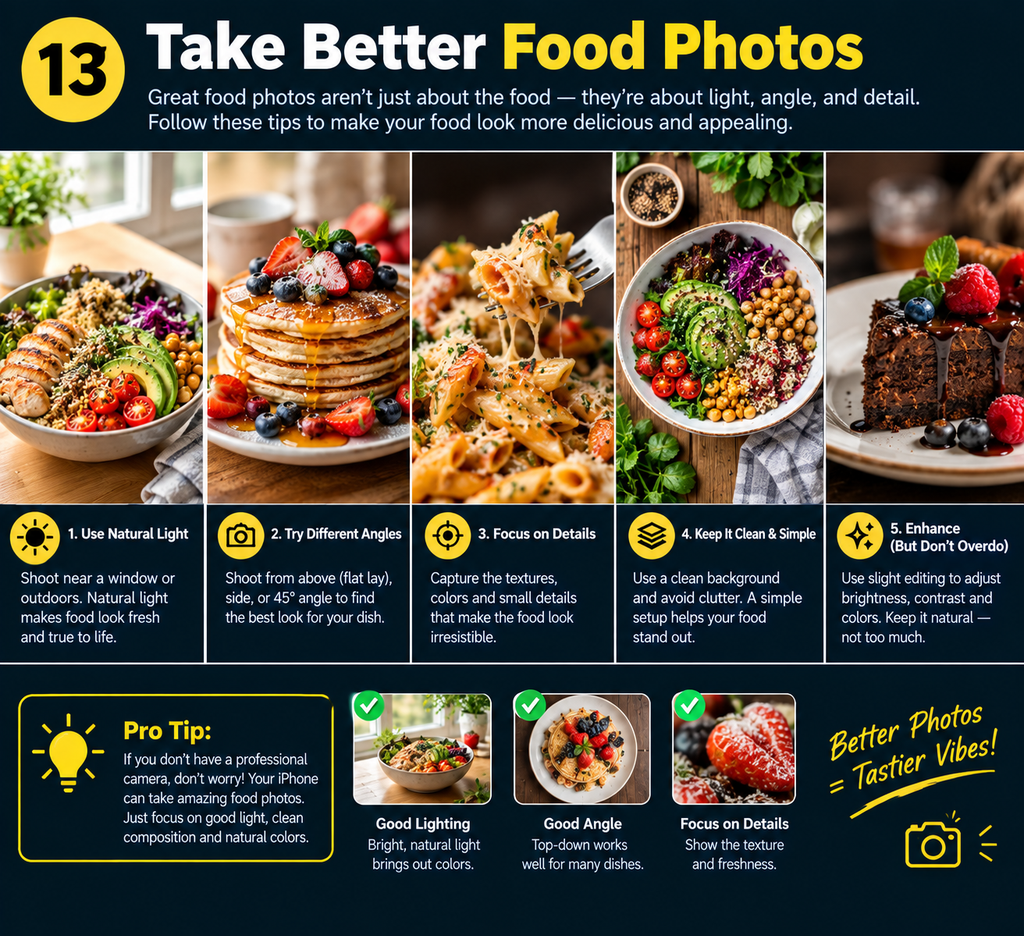
Put the food close to a window that lets in gentle natural light for food photography.
Try 45-degree and overhead angles. To keep the food as the primary emphasis, keep the surroundings basic.
If artificial lighting produces significant color casts, try not to use too much of it.
14. Improve Night Photography
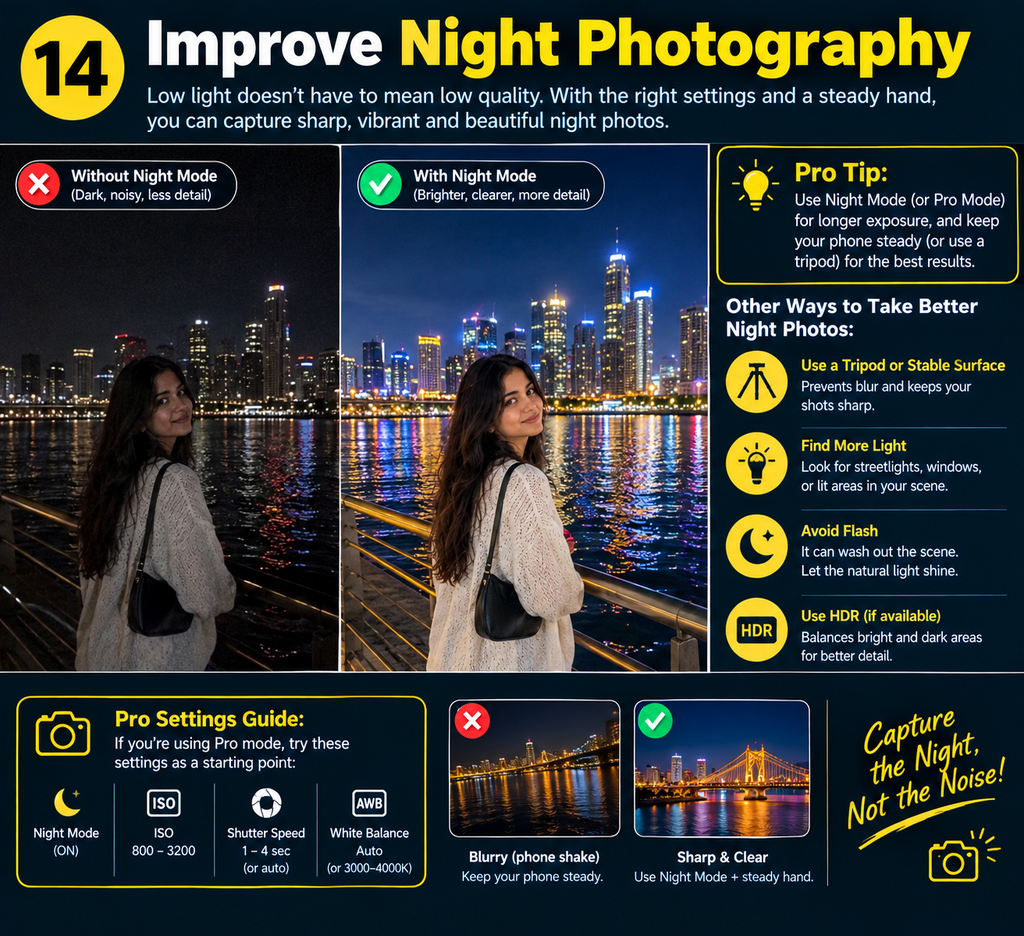
Hold your iPhone steady while taking pictures in low light so the camera can record the scene.
When it gets dark, Nite mode on compatible iPhones can turn on automatically.
Sharpness can be diminished by moving the phone while the exposure is being taken, so avoid doing so.
15. Use Burst or Live Photos for Moving Subjects
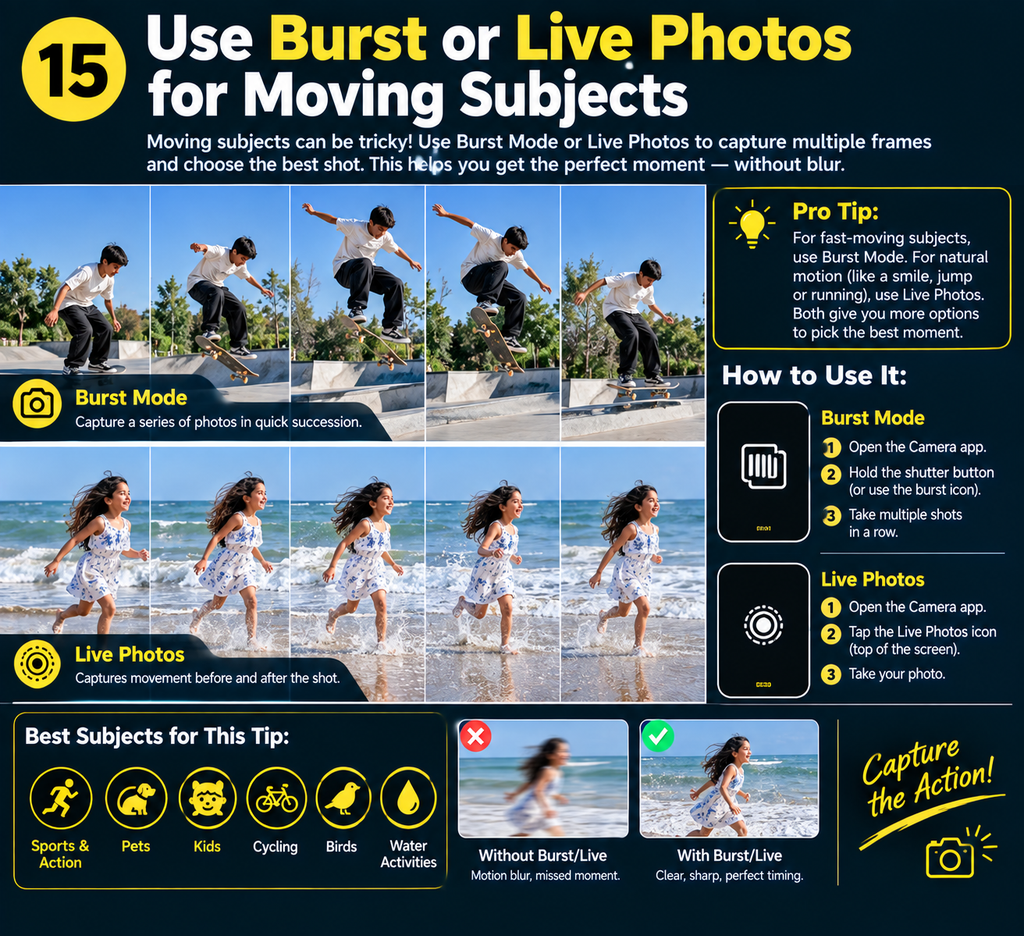
Timing can be challenging when taking pictures of movement.
Features like Burst can help you take multiple pictures and then select the best one, depending on your iPhone model and camera settings.
16. Edit Photos Carefully
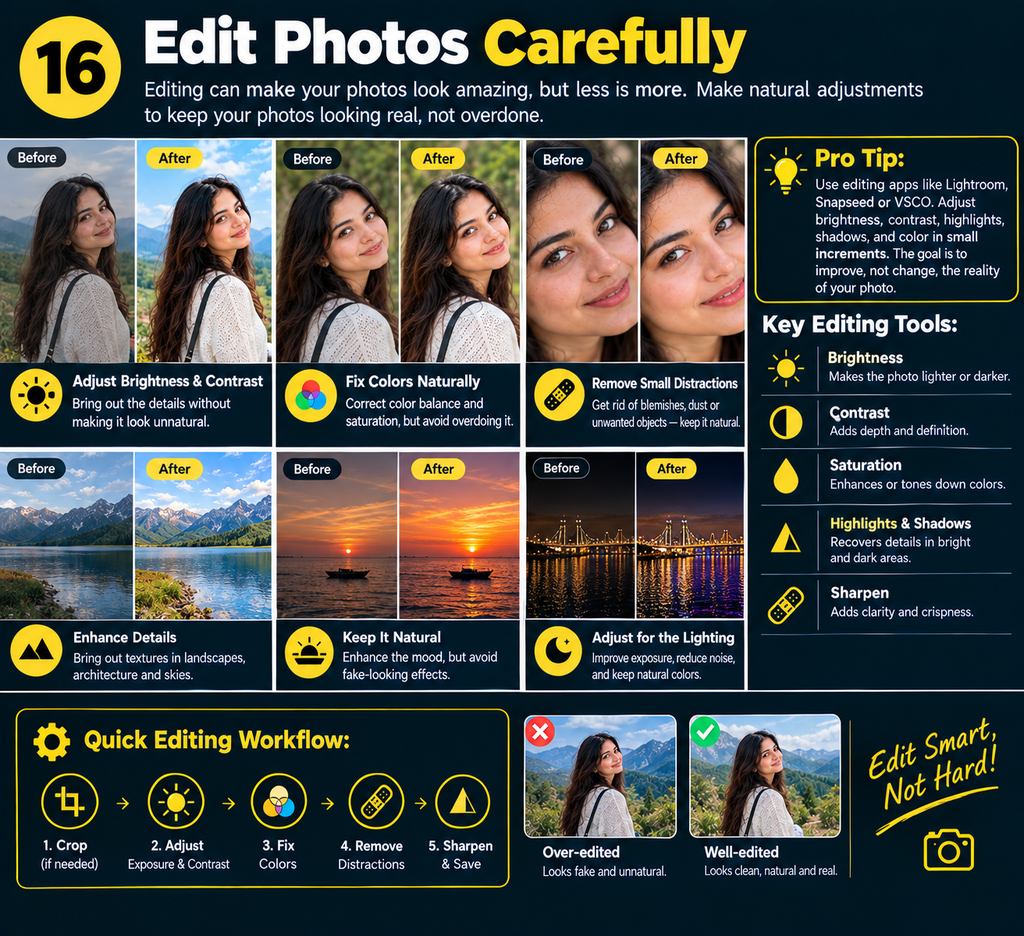
A decent shot can be enhanced by editing, but excessive modification might make it appear artificial.
Begin by making minor changes to: Highlights of Exposure
Shadows, Contrast, Brightness, Saturation, and Sharpness
Instead of totally altering the image, the objective should be to improve it.
17. Pay Attention to the Background
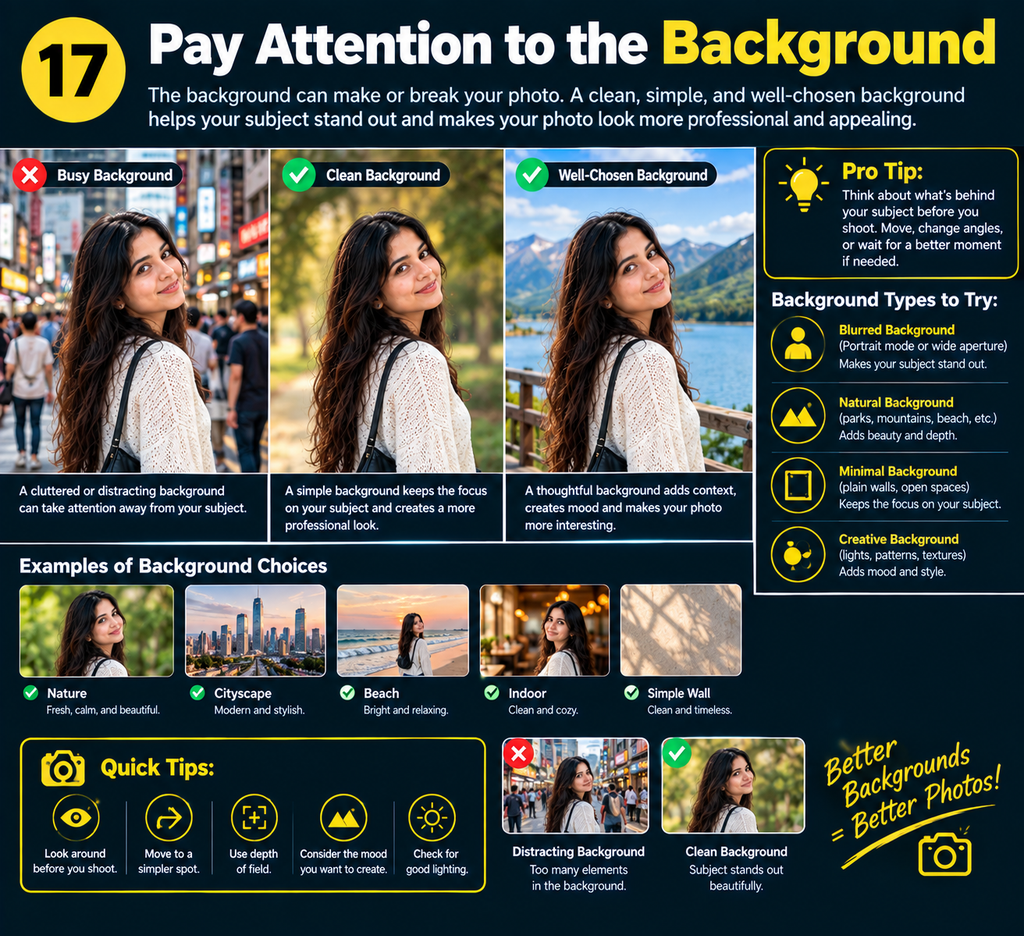
If the background is busy, an excellent subject may still appear distracting.
Examine the frame’s edges before snapping the picture. To make the composition cleaner, eliminate extraneous items or adjust your placement
18. Take Multiple Photos
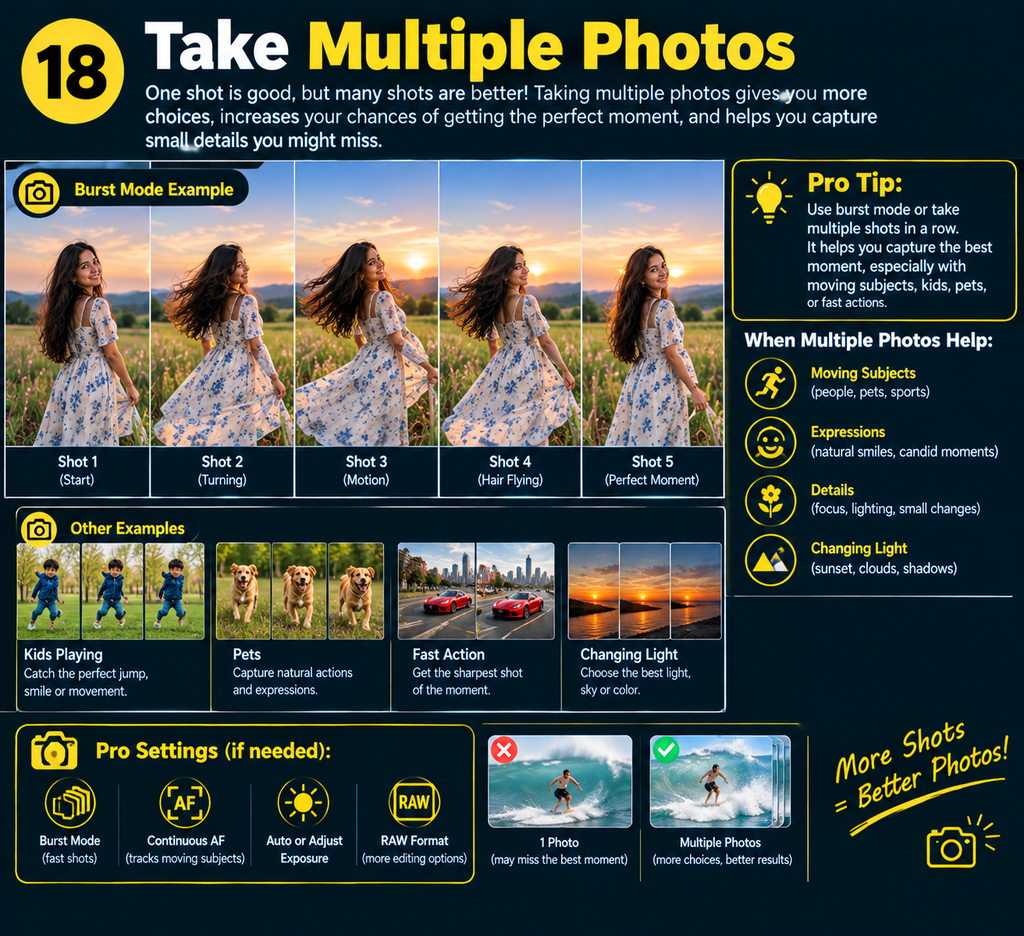
Expert photographers frequently capture multiple images of the same scene.
Try making little adjustments to exposure, distance, angle, and composition. Select the strongest image later.
Conclusion
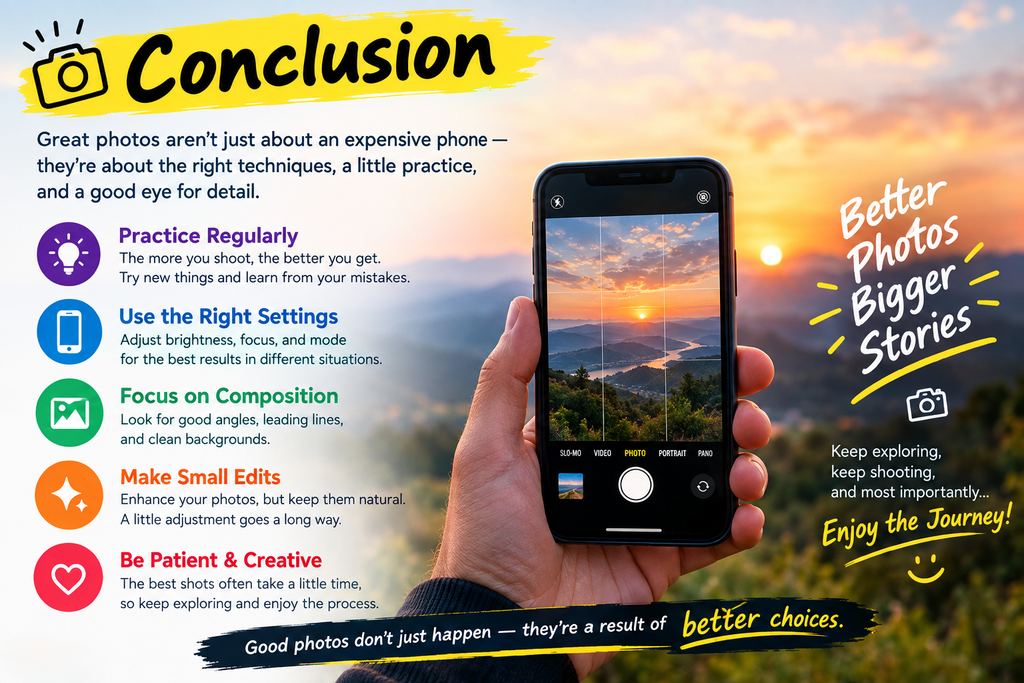
Lighting, composition, focus, steadiness, and practice are the key components of taking iPhone images that seem professional. To begin, you don’t need complex equipment.
Keep your composition simple, play with angles, use natural light, clean your lens, and lightly retouch your images. You may greatly enhance your iPhone photography abilities with consistent practice.